Showing posts with label Misc.. Show all posts

Friday, March 3, 2023

Pizza Sauce -- Quick and Easy

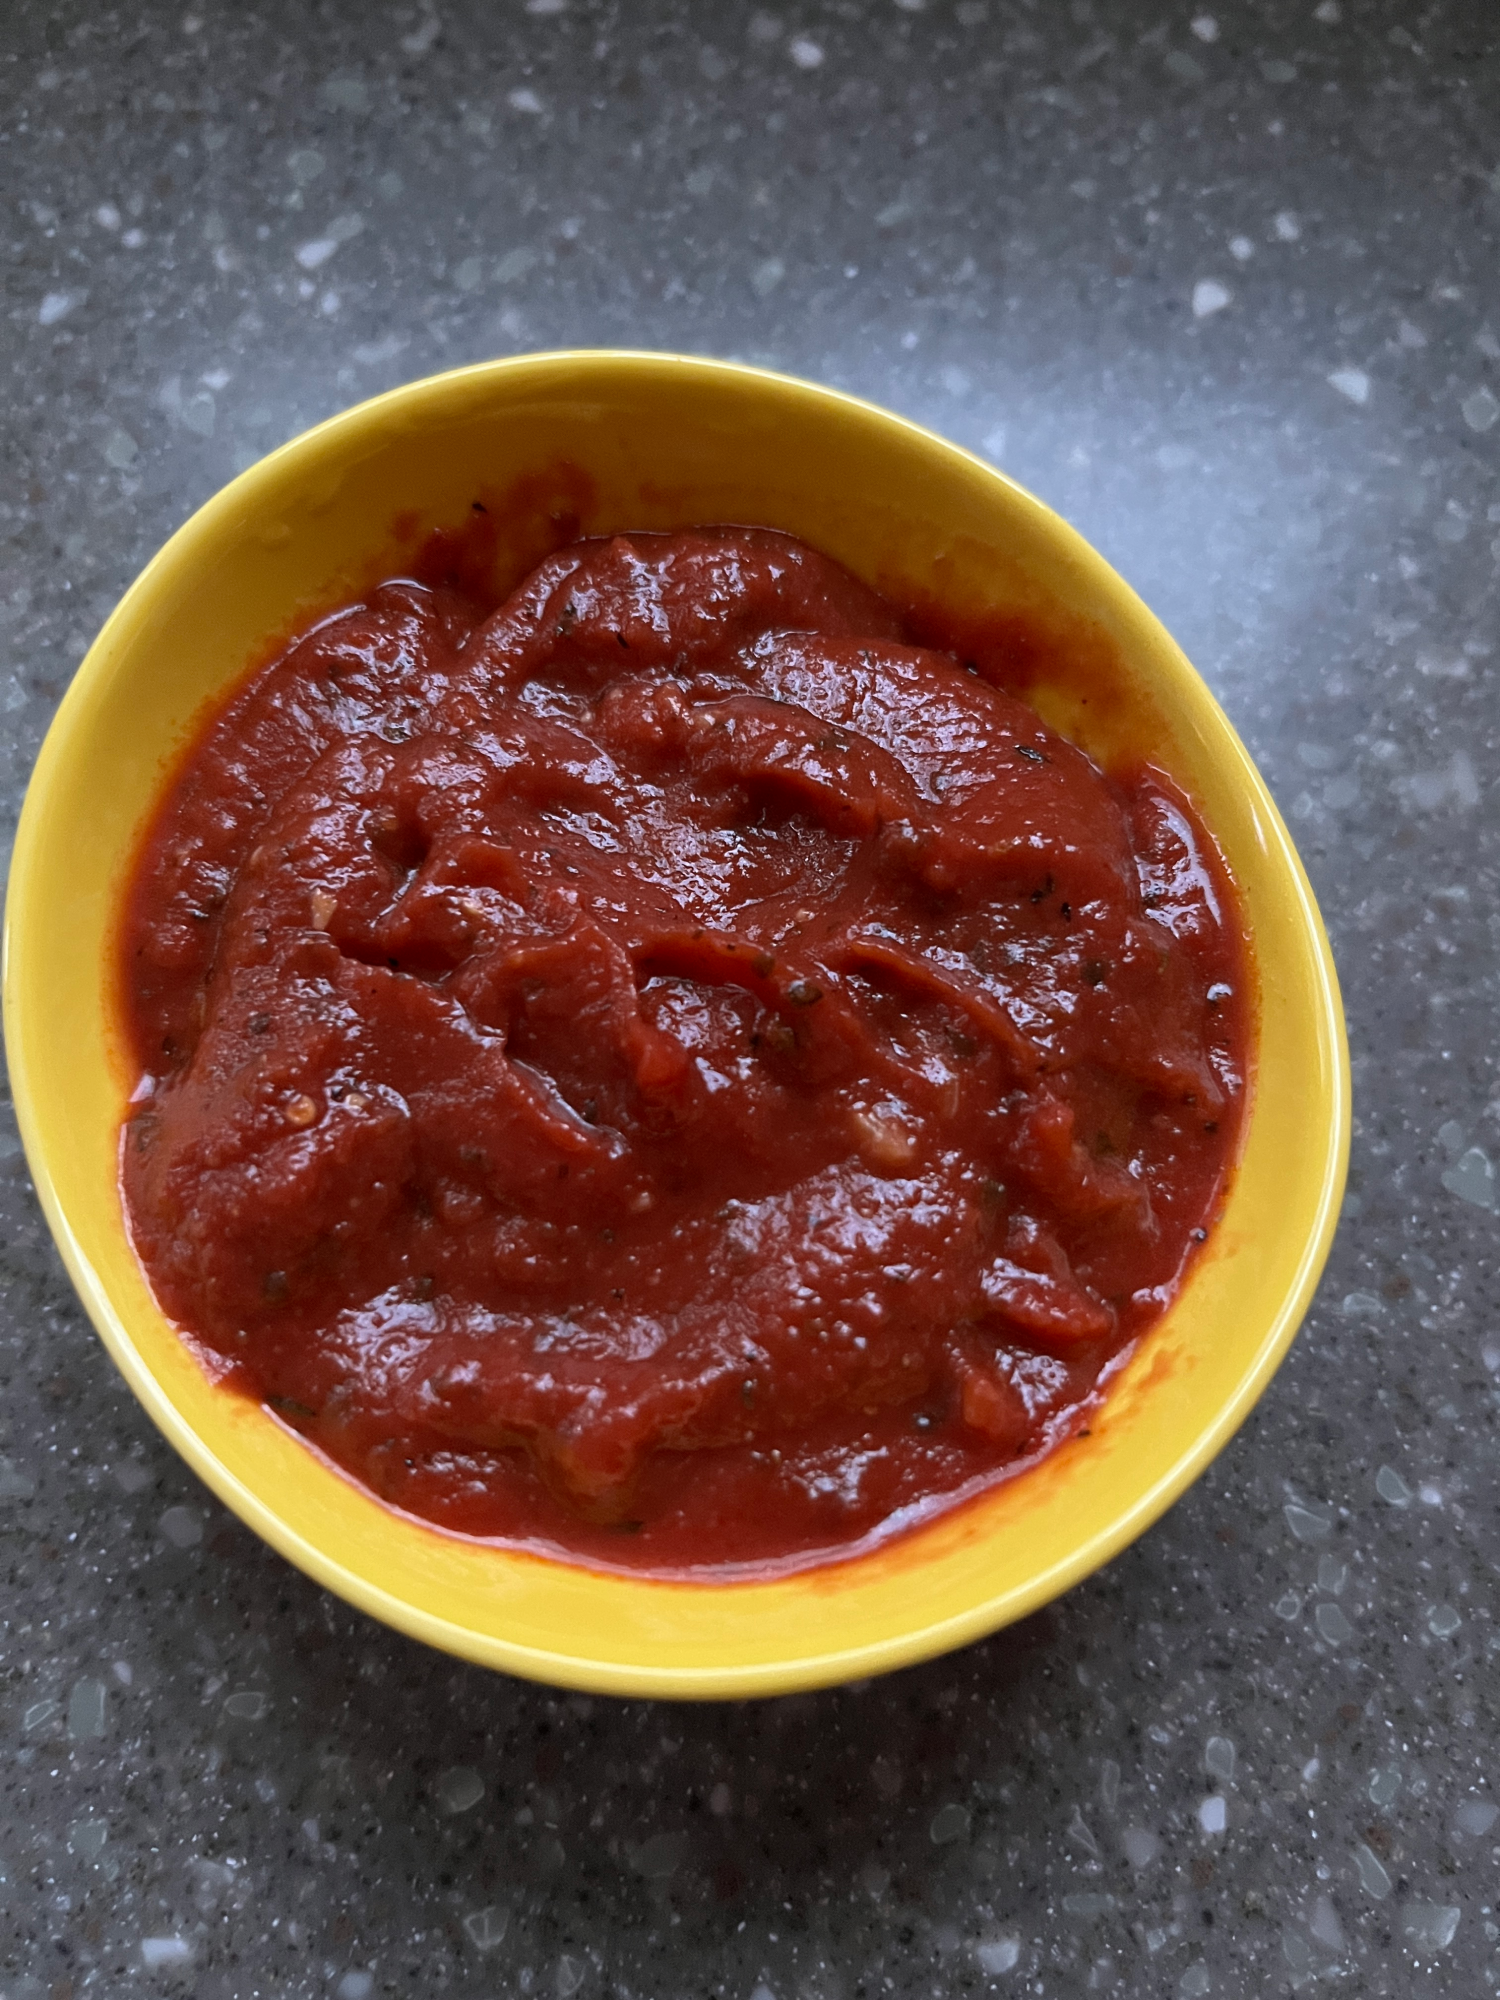
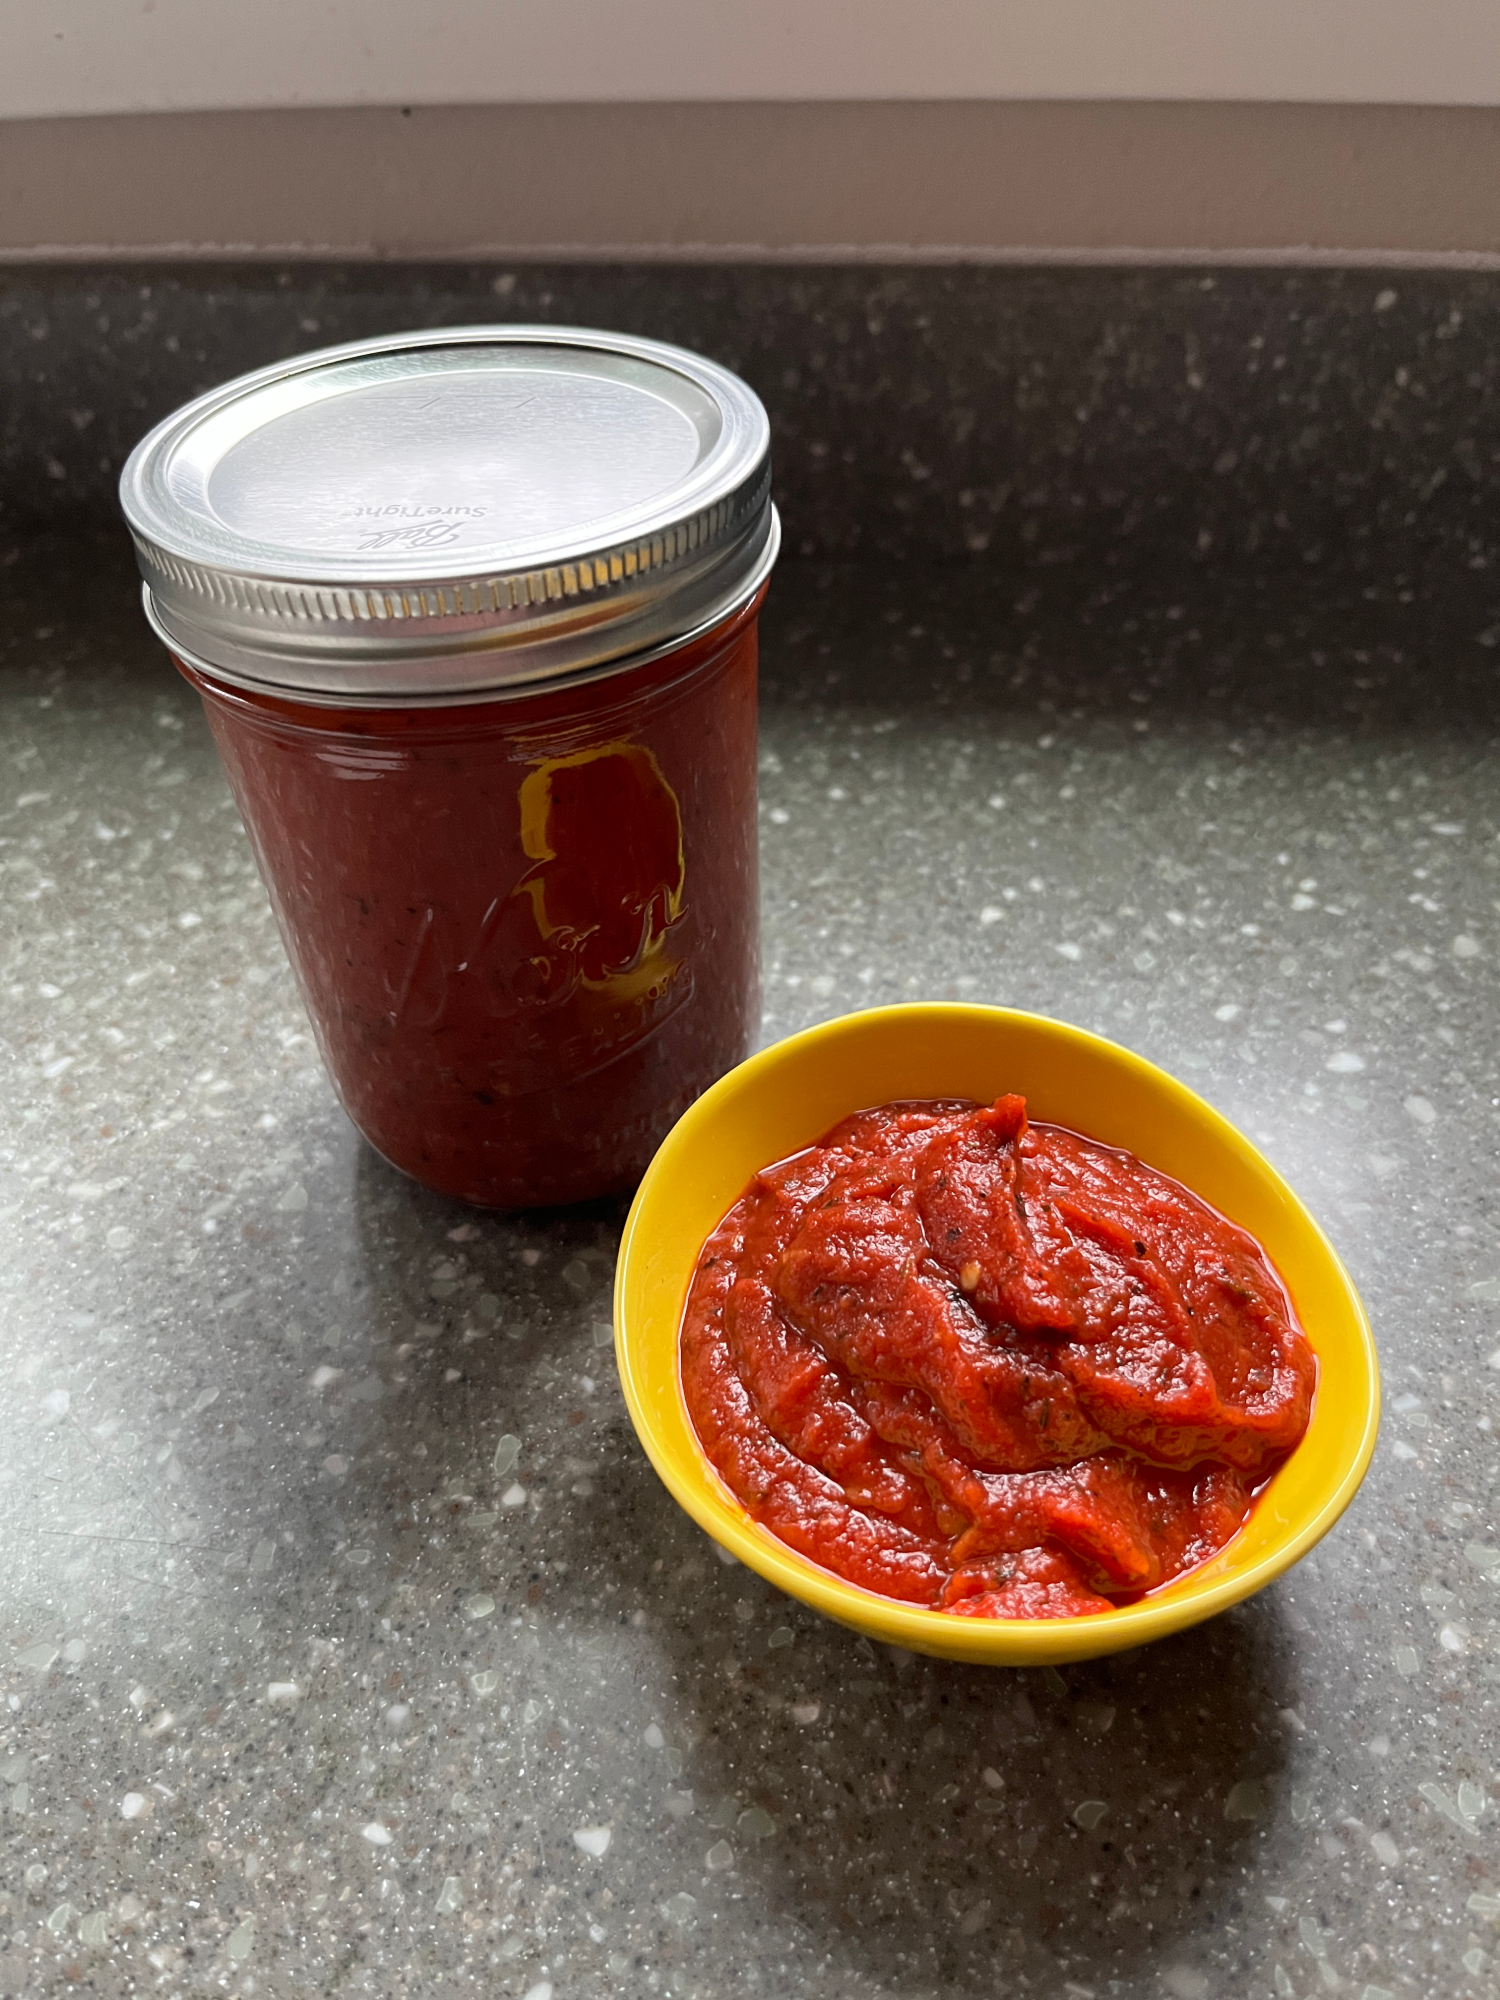
Easy peasy pizza sauce


After years of using mediocre store-bought pizza sauce for my homemade pizza, I finally searched up and found an easy, delicious option for homemade sauce. I kind of like my pizza sauce to be a little thick, so I looked for a recipe that included tomato paste, and found this recipe pretty quickly on JoyFoodSunshine.com. That recipe does not involve fresh garlic or any cooking, but I really wanted an intense garlic element, so I tweaked the recipe a bit.

Depending on how much red pepper flake you put in, you can make this pretty spicy. The half-teaspoon called for in my rendition below gives it just a small kick that I don't think will be too much for sensitive folks, but put in less if that's your preference.

I had the Orlondo's Pizza Spice on hand, and I realize now it's kind of a local thing. So, if you don't have that or anything like it, go to JoyFoodSunshine.com and check out the ingredients they have there for the original recipe of this sauce. I think you could also use "Italian spice" and augment with basil, parsley, and fennel seed, since that's what is listed on Orlondo's bottle (see pic below).

Overall, I consider this pizza sauce a win, and it's now my go-to sauce for homemade pizza night at my house. It's flavorful, just the right viscosity and spice. I keep the leftovers in my fridge and one batch covers about six 12-inch pizzas, which covers 2 different pizza nights at my house.

So, it's a winner in my book. Give it a try.

Pizza Sauce
  -- Adapted from JoyFoodSunshine.com

Ingredients:
  • 2 tablespoons olive oil
  • 2 cloves garlic, minced
  • 2 tablespoons pizza seasoning (I used Orlondo's Pizza Spice)
  • 1 1/2 teaspoons oregano
  • 1/2 teaspoon onion powder
  • 1/2 teaspoon ground black pepper
  • 1/2 teaspoon red pepper flakes
  • 1 can tomato paste (6 oz)
  • 1 can tomato sauce (15 oz)
  • 1 teaspoon garlic salt
  • 1 teaspoon sugar
Instructions:
In a medium saucepan, heat the oil over medium heat. Add the garlic, pizza seasoning, oregano, onion powder, black pepper, and red pepper flakes. Stir and cook for about 30-45 seconds before adding the tomato paste. 
Stir in the tomato paste to incorporate, and then stir in the tomato sauce.
Turn heat to medium low and cook until bubbles start to pop through and sauce is very hot, but not boiling.
You can allow the sauce to sit & cool in the pan while you prep the other ingredients for pizza, or you can transfer it directly to a glass container (like a Mason jar), cover, and refrigerate for up to 2 weeks.

Use as you would any other pizza sauce.

Makes about 2 1/2 cups sauce

Orlondo's Pizza Spice Ingredients:
basil, parsley, fennel seed, Italian spices


Saturday, July 21, 2018

Puffy Cheese Crackers (gluten free, but not necessarily)


Delicious Puffy Cheese Cracker

I found this recipe from Chef In Training via Pinterest. Not that I need another cheese cracker recipe in my life, but I have been craving Cheeze Crackers ala Marilyn. Cheapskate me, though, didn't want to spend the $2.99 on a jar of Kraft Old English processed cheese
This recipe is great because it's basically my mom's cheese cracker recipe, but with real cheddar cheese, which costs about $2.50 less than the jar of Old English. Score.
I made these gluten free because I am still attempting to limit my gluten. With all of the butter and cheese, though, you can't really tell the flour is not made with wheat.
These tasty little treats are salty, cheesy, warm, and absolutely satisfying. The dough freezes perfectly for baking up just a few at a time, or if you just want to plan ahead.
 
Puffy Cheese Crackers
    --Adapted from Chef In Training

Ingredients:
Instructions:
  • Preheat oven to 375 degrees Fahrenheit, and line a baking sheet with parchment paper.
  • Get out your food processor and put in the grater attachment. Grate the cheese and the butter.
  • Transfer the grated cheese and butter to a medium mixing bowl and then replace the grater attachment in your food processor with the blade attachment.
  • Add the grated butter and cheese back into the food processor (fitted with the blade now). Mix until the butter and cheese are completely incorporated.
  • Add the flour and salt. Mix until a dough forms and creates a cohesive ball (or other solid shape--mine looked like a fat sausage).
  • Transfer dough to the bowl you used for the butter and cheese earlier.
  • Scoop about two teaspoons of dough out and roll into a ball. Place ball on prepared baking sheet and gently press on the top, just enough so that the ball won't roll off the pan.
  • Place additional balls onto the pan, leaving about 1 1/2 to 2 inches between balls of dough.
  • Bake at 375 degrees for about 9-10 minutes, or until puffed and possibly browning on the edges just slightly.
  • Remove from oven and allow to cool for 3-5 minutes. Remove to a serving plate and enjoy, taking care not to burn yourself.
  • Continue to roll and bake the remaining dough.
* If you would like to freeze some to bake off later, line with wax paper a small pan that will fit into your freezer. Form the balls and press to keep from rolling. Freeze formed balls until firm and then transfer to a zip top freezer bag. When ready to bake, put the dough balls on the pan while the oven preheats, and bake as directed above.
  • Makes about 1 1/2 to 3 dozen puffy cheese crackers

Cheese and butter all mixed (well, mostly)
The completed dough
Dough balls formed for freezing -- each is about 1 1/2 cm in diameter.
Ready to go into the oven
Baked, puffed, and done


Saturday, October 28, 2017

Granola with Honey & Almonds

 
Granola with Honey & Almonds


It finally happened. After several (four? five?) years of eating popcorn and a fruit smoothie for breakfast almost every work day, I felt it was time for a change. I don't know how long I can sustain this change, but for now, my breakfast involves homemade granola and yogurt. (If you want to know the truth, the yogurt and granola will be my lunch tomorrow and the popcorn and smoothie will probably be my breakfast. I know--I'm a weirdo.)
Of course, I can't allow myself to eat store-bought granola, so I turned to my good friend Pinterest, and got a recipe. But not this one. I can't find the first recipe I used because I neglected to use Pinterest in the way it was actually intended and did not pin the recipe.
So I combined what I remembered from that recipe with my friend Christie's Cranberry and Walnut Granola recipe and got this.
It's a good, basic granola with a good hearty crunch and just enough sweetness. There are some larger chunks and some bits of chia seeds and individual oats that are on the bottom of the bag, but it's all delicious mixed up with some yogurt and berries.
Good stuff. I think I'll keep on having it for breakfast for a little while.
 
Granola with Honey & Almonds

Ingredients:
  • 2 egg whites
  • 1/4 cup canola oil
  • 1/4 cup honey
  • 2 teaspoons vanilla extract
  • 1/2 teaspoon kosher salt
  • 3/4 cup packed light brown sugar
  • 3 cups rolled oats
  • 1/2 cup almond meal
  • 1 cup almonds, chopped
  • 1/4 cup chia seeds
Instructions:
  • Preheat oven to 300 degrees Fahrenheit.
  • Line a sturdy rimmed cookie sheet with parchment paper. Set aside.
  • In a large bowl, whisk together the egg whites, canola oil, honey, vanilla extract, kosher salt, and brown sugar.
  • Add the oats, almond meal, chopped almonds, and chia seeds. Stir to combine.
  • Pour mixture onto parchment lined cookie sheet and spread evenly. Press down slightly with a silicone spatula.
  • Bake at 300 degrees for 1 hour, removing from oven and stirring every 15 minutes. After each stir, press down slightly again to evenly distribute the granola.
  • When done, remove from oven and allow to cool completely before eating or storing. Store at room temperature in an airtight container or large zip-top bag. 
  • Try to enjoy within about two weeks.
Makes about 5 cups


Saturday, January 7, 2017

Easy Meal Ideas for College Students


Our college student friend Gavin asked if I could send him a list of ideas/recipes for foods he can make for himself. He makes omelettes, so clearly he's up to the task of cooking.
I figured I may as well make a blog post out of it, so he and others can find the list any time.
This is my brainstormed list of things Gavin can make, and links to recipes where I could find them.

1. Quesadillas
Heat a pan over medium to medium high heat. Place a tortilla (corn or flour) in the pan, sprinkle a thin layer of shredded cheese (I like pepper-jack), add cooked meat or cooked veggies on top of the cheese, sprinkle on more cheese and place another tortilla on top.
When cheese is melty on the bottom, use a spatula to carefully turn the quesadilla over and cook until the other layer of cheese is melted.
You can also fold the tortilla over, but you'll want to place your cheese and fillings on only one side of the tortilla if you're doing that.
Make as many of these as you need to in order to fill you up.
Here's a link to a recipe that also includes how to make an easy Mexican flavored chicken to put in your quesadillas: Chicken Soft Tacos and Quesadillas


2. Grilled Cheese Sandwiches
Here's a link to my favorite version: My Favorite Grilled Cheese Sandwich


3. Hamburgers
Buy a pound of hamburger (I recommend 85/15 or 90/10 meat to fat ratio ground beef).
Divide it into four equal pieces. Shape each fourth into a ball, and then on a piece of plastic wrap or wax paper, flatten the ball to about a half-inch disc.
Heat a pan over medium-high heat, place a patty or two onto the pan, sprinkle patty with garlic salt and some black pepper.
When burger starts to brown on the edges (about 3-4 minutes), flip it over and cook on the other side until browned.
This one will probably take some practice to get it the way you like it--I mean, you'll go through several patties before you realize how to cook it the way you like it.
Serve on a store-bought burger bun with the toppings you like.
Now, when you buy buns, they usually come in an eight pack. You probably won't use them all before they go bad. You can freeze them, probably only for a couple three months. When you want one, heat it in the microwave on 50% power for about 30-36 seconds.
You should freeze leftover patties. Wrap them in plastic wrap and place in a zip top freezer bag.

4. Meatballs
Buy a bag of frozen meatballs. Heat meatballs in a pan over low heat along with a half a jar or so of jarred pizza sauce (I like Classico). Serve with spaghetti noodles, or make an open face meatball sandwich by cutting some french bread, putting it on a foil-lined baking sheet, placing halved meatballs with sauce over the top, cover with mozzarella cheese, and broil in the oven for about 2-3 minutes, or until the cheese is melted. Eat with a fork.

5. Chili Colorado Burritos
Recipe is here: Chili Colorado Burritos and use the crock pot option that so many people seem to love.
Leftovers can be put into quesadillas.
Make this if you're having people over and you want to impress them with your cooking skills. The meat can be pricey, so I don't know if you'll really want to do this one.


6. Chili Baked Potatoes
Make your own chili with one of those easy prepared spice packets at the grocery store, or buy a can of chili. Easy, yummy, and relatively inexpensive. Here's a recipe that will tell you how to bake a potato: Chili Baked Potatoes


7. Baked Chicken Thighs
Remove the skin if you want less fat. These chicken thighs are tender,  yummy, and super easy. Chicken thighs are relatively inexpensive. You just put bbq or teriyaki sauce over the chicken in a baking dish, cover, and bake. Recipe is here: Baked Chicken Thighs
Serve with whatever: mashed potatoes, rice, salad... 
 

8. April's Spaghetti
Noodles, tomato sauce, butter, garlic salt, and Parmesan cheese, if you'd like. Super easy and super tasty. Heavy on the carbs, but you're young--and you were just going to eat ramen noodles anyway, right? Here's the recipe: April's Spaghetti
Add some meatballs if you have 'em in the freezer.
 

9. Chicken Nachos
If cooking the chicken seems like too much work, buy a rotisserie chicken and heat it up in salsa for a little bit before using it on the nachos. Here's the recipe: Chicken Nachos


10. Easy Baked Pasta
This recipe makes enough to feed two. Easy, cheesy, and tasty. Here's the recipe: Easy Baked Pasta for Two
 

11. Leftover Steak Tacos
I don't know if college students ever have leftover steak on hand, but if you do, try this recipe: Leftover Steak Tacos
 

12. Chicken Soft Tacos and Quesadillas
Very few ingredients, not too unhealthy, filling, and yummy. Here's the recipe: Chicken Soft Tacos and Quesadillas
 

13. Tacos
Just buy one of those Taco Bell Meal Kits and some ground beef, and voila! Dinner!

14. Egg Toast
Basically a soft-boiled egg on toast. You can make this on regular toast, but what's even better is using Jimmy John's bread that you can get day-old for $.50 per loaf. I cut it into individual portions (1/4 of a loaf) and freeze in zip top freezer bags what I don't use that first day. Cheap and yummy. You can even just use the Jimmy John's bread to make your own sandwiches at home. Here's the recipe: Six Minute Egg on Jimmy John's Bread


15. Baked Oatmeal
This is a sweet and satisfying kind of oatmeal--not pasty and gross. This one takes a little more effort, but you'll have leftovers that you can refrigerate or freeze. Here's the recipe: Baked Oatmeal
 

So there you go. That's what I have for starters. Hopefully this has been helpful for my adopted nephew Gavin.


Wednesday, August 17, 2016

The Iowa State Fair Food Competition is Dead to Me

The actual French batard, a couple weeks later with the addition of googly eyes, of course. I have named him Francois.

This past fall, I learned how to make a perfect French bread batard at the King Arthur Flour Baking Education Center in Norwich, Vermont. So, although I didn't really express it out loud to anyone, I was pretty psyched to enter the King Arthur Flour Yeast Bread competition this year at the Iowa State Fair.
I mean, I have spent the last two months making so many loaves of French bread, trying out different methods, baker's lames and sourdough starter to get it just right in flavor, texture, and appearance. I've made French bread at least twice a week for the last couple of months. Seriously. So. Much. Bread. I keep finding more demi-baguettes tucked away in the corners my two freezers.
So, when I got to the fair after only 2 1/2 hours of sleep and saw that there were only three entries in the French Bread class at the fair, I thought, "Well, I'll at least get a third place ribbon." To tell the truth, though, I thought I had the blue ribbon in the bag and was already planning how I'd spend the King Arthur Flour gift card I'd win for the best overall bread. I really believed I was a contender.
I'm going to cut to the chase right here: my French bread batard didn't even get a 3rd place ribbon. "How is that even possible, Kelly? I thought you said that there were only three entries." I did say that.
Here's the thing with the judging of breads at the Iowa State Fair: If the judge believes that none of the entries deserves first place, they won't award it. Even if there's just one entry in a class, a judge might give it second place, or third place, or NO place at all. I am telling you the truth. Those judges are HARD CORE.
These hard core judges have of course frustrated and ticked me off in the past, (see White Chocolate Macadamia Nut Cinnamon Roll post), but nothing, and I mean NOTHING could have prepared me for what happened this year. 
When you go to the Iowa State Fair Food Competition in the Elwell Family Food Center, you'll see the judging rooms set up with tables in the front where the judges and their scribes sit, and then there is the audience seating, facing the judges' table, where bakers, family, friends, and interested fairgoers will sit and observe the judging--watching the judges sniff, poke, taste, and comment on goods placed before them.
I was sitting in the front row, watching intently as the third judge from the left started cutting into the French breads. I saw her taste the first one, make some comments that her scribe wrote down, and then I saw her cut into the next loaf. She made more comments, and then she cut into my loaf last, scrunched up her nose, made some comments, scrunched her nose some more as she examined the interior and exterior of my loaf, made more comments, and then the scribe started the wrap-up procedures and the judge asked for the microphone.
My mind was whirring, and my heart was thumping, as I listened to her judgment. Did I look away when she tasted the other breads? Is she really finished? "There were three entries in the French bread class, and I'm only awarding first place to ____."
What the...?
She didn't even TASTE the other two loaves! She awarded a blue ribbon to a loaf she didn't even taste, and she didn't place my loaf that she didn't taste either. Oh. My. Gosh.
What just happened?
I am so DONE with this competition. I decided then and there. Completely. DONE. 
With my heart pounding in my chest and ears, I walked across the front, over to my loaf on the reject table at the side, and I picked up the two halves of my loser loaf to confirm that the judge had not tasted any of it (a huge no-no in food competition--you're supposed to wait to pick up your entry in the back after the tags have been processed). 
Then I walked straight back to the food competition superintendent and lodged my complaint. 
All of the details at this point just don't matter. We looked at the loaf. I pointed out the judge to the superintendent. We looked at the score card to confirm that my entry was actually judged (as opposed to disqualified for some reason) And what do you know! I got 40 out of 50 points for flavor! Amazing. 
At this point I was completely disillusioned and disgusted. I went home without really knowing if they were going to do anything about it, but only partially caring because I had already decided that I was done with that ridiculous food competition. Forever.
Did I mention that I'd only gotten 2 1/2 hours of sleep the night before?
Of course, my curiosity got the better of me, and after a long nap, and a yummy dinner at Zombie Burger, I had my husband drop me off at the fair so I could see how my other four entries did that day. 
All four of those entries placed: 2 first place and 2 second place. 
Armed with this satisfaction, I found the assistant to the superintendent, and chatted with her about what had gone down earlier in the day.
I had a chance to explain my frustration some more, as well as my realization that a bread competition is really not that big of a deal in the light of real life. First-world problem. I get that. 
I also reiterated, though, that I cannot compete any longer because each time I do, I risk this frustration and disappointment. I take the competition way too seriously. I just do.
Now, you may be wondering, as I had been, if someone actually confronted the judge with my accusation. The assistant superintendent said that the judge had been spoken to, and the judge said that she did taste the entries. I maintain that she is lying through her teeth. Whatever. She'll still be a judge, and I will not be competing.
Many people I've talked to have said that I need to write the Des Moines Register about this, or dust myself off and continue competing. I will do neither. Despite that liar of a judge (and some other ridiculous judges, by the way), the superintendent of the Food Competition and her team really do an amazing job at organizing and pulling off what is purportedly the largest food competition anywhere. It truly is a well-oiled machine, and lots of folks really do enjoy competing in that environment.
It really is a shame, though, that judges like the one I got are allowed to degrade the integrity and legitimacy of the competition. Other home bakers may have the emotional maturity and strength to not get all wrapped up in the drama and are able to take the injustice and disappointment in stride, but I recognize my own limitations, and am choosing to stay away.


My five entries for the day
I got a ride from the parking lot at the VFW in this awesome truck because I brought the guys some rolls.
The three French bread entries. Mine is top left. The top right got first place.
The judge said she tasted a little bit of this bread. Can you tell where she took a piece? I can't either.


Notice that 50% of the points are for "Flavor."

First place in the Cinnamon Raisin class (Cinnamon Raisin Sourdough Bread)

First place in the Cinnamon Roll (with nuts) class (Croissant Caramel Sticky Buns)

Second place in the Cinnamon Roll class (Croissant Cinnamon Rolls)

Second place in the Non-Sweet Yeast Roll Other Than Named class (Pretzel Rolls)

First place in the Friends class. Kara and Christie brought me flowers and adult beverages to cheer me up.

Friday, March 18, 2016

Mr. Yoshida's Style Sauce

 
Tasty Mr. Yoshida's style teriyaki sauce


Mr. Yoshida's Gourmet Sauce is what I would call a classic teriyaki sauce--sweet and salty and delicious. It's widely available on the West Coast, but I've only found it once here in Iowa--at SAMs Club when it had accidentally been shipped to our local store. I can order it from Amazon, but since even with two-day shipping I can't get it here in time for my husband's birthday dinner, which I just found out will be Teriyaki Brisket
At first I made this without all the water, and only 1 tablespoon of cornstarch, but it was way too strong. Adding the cup of water and two more tablespoons of cornstarch mellowed it out perfectly. This isn't exactly like Mr. Yoshida's, but it's close enough for me. I'm excited to try it on the brisket and will share those pics later. If I can remember.

Mr. Yoshida's Style Sauce
     --adapted from Food.com

Ingredients:
  • 6 quarter-sized slices of fresh ginger
  • 6 green onions, washed and cut into 1-inch pieces
  • 1 teaspoon garlic powder
  • 1/2 teaspoon ground black pepper
  • 1/4 teaspoon dried red pepper flakes
  • 1/2 teaspoon sesame oil
  • 3/4 cup white sugar
  • 3/4 cup light brown sugar
  • 1/2 cup light corn syrup
  • 1 bottle (15 oz.) Kikkoman Soy Sauce
  • 1/2 cup Mirin
  • 3 tablespoons corn starch
  • 1 cup water
Instructions:
  • Mix the corn starch and water in a bowl or liquid measuring cup and set aside.
  • In a medium to large size heavy-bottomed pot over medium heat, add all of the ingredients except for the corn starch and water. Stir occasionally as it comes to a boil. When it boils, reduce heat to low and simmer for 15 minutes, stirring occasionally.
  • Stir the corn starch and water mixture and then stir it into the sauce. Simmer for another five minutes, stirring occasionally.
  • Allow sauce to cool in the pot for an hour or so, then strain into a jar or bottle for storage. Refrigerate.
Makes 4 cups


01 09