Showing posts with label Chocolate. Show all posts

Wednesday, January 31, 2024

Browned Butter Chocolate Chunk Cookies


Browned Butter Chocolate Chunk Cookies

I'd like to say I've finally found my ultimate favorite chocolate chip cookie recipe, but I think I may have said something like that before...several times...so I'll just say this one is my current favorite. I took the other Levain Style Chocolate Chip Cookie recipe I have here and tweaked it to omit the need for self-rising flour (since I'd been mixing it up on the side anyway with ingredients that were duplicated in the recipe) and I've browned a quarter of the butter. And I've given up on bagged chocolate chips for the time being and am sticking with my favorite Dove Dark Chocolate. They're worth every penny and every minute of unwrapping and chopping them up. 

So what we have here is a relatively dense, tender, soft, chewy, chocolatey, buttery, nutty chocolate chip cookie. If you eat them fresh, they're also melty with a crisp edge. Mmmm. 

Browned Butter Chocolate Chunk Cookies

    Adapted from Cupcake Jemma's Recipe on Youtube

Ingredients: 

  • 230 g cold butter, divided
  • 160 g granulated sugar
  • 160 g brown sugar
  • 450 g dark chocolate chunks (I used Dove Dark Chocolate)
  • 200 g walnut pieces (optional)
  • 430 g all purpose flour
  • 1 teaspoon baking soda
  • 4 teaspoons baking powder
  • 1 1/2 teaspoons salt
  • 2 large eggs
  • 2 teaspoons vanilla extract

Instructions:

  • (Scroll to the photos at the end to see what this unconventional process looks like.)
  • The night before you plan to mix up the dough, brown four tablespoons of the butter. Place in a glass container, and either refrigerate or allow to sit at room temperature.
  • Beat the eggs and vanilla together in a small-ish bowl and set aside.
  • Cut the cold butter into tablespoons sized chunks and then add that and the browned butter to the bowl of a stand mixer. Mix on low for about a minute, just to break up the butter--do not cream the butter. 
  • Add the granulated and brown sugar to the butter and mix again on low/medium low until little nuggets of butter & sugar form--again, do not cream this mixture. (If you refrigerated the browned butter you may need to cut it into smaller pieces.)
  • Add the chocolate chunks and walnut pieces (if desired), and mix again just to incorporate the chocolate chunks and walnuts.
  • In a separate bowl, combine the flour, baking soda, baking powder, and salt. Stir with a whisk until completely mixed. 
  • Add the dry ingredients to the butter/sugar/chocolate/walnut mixture in the mixing bowl and mix on low until combined, about 30-45 seconds. It will still be dry and sandy looking.
  • Add the vanilla to the egg mixture and then add that to the mixture. Mix on low/medium low until dough starts to come together, taking care not to mix too long.
  • Using a large cookie scoop or a large spoon, make 60 gram gently formed balls of dough -- it's best if you don't pack the dough into a tight ball. Then flatten each ball into a disk that's about an inch thick.
  • Cover and freeze dough disks at least 90 minutes before baking.Preheat oven to 360 degrees Fahrenheit. Line a baking sheet with parchment paper and place in the oven to get hot while the oven preheats.
  • When pan and oven are heated, remove the pan from the oven, place frozen dough disks on pan allowing a couple of inches between them.
  • Bake at 360 degrees for about 14-15 minutes, until puffed and starting to crack. Take care to not over-bake. Underbaked is better than over-baked.
  • Remove from oven and allow to cool on cookie sheet at least five minutes before moving to a wire rack to cool completely. Alternately, if you have a rimless baking sheet, you can slide the parchment with the baked cookie sheets onto a cooling rack to cool until ready to eat, about 5-10 minutes. This is what I try to do so the cookies will not continue to bake on the hot baking sheet.
  • Place unbaked dough disks in a zip top freezer bag and store in the freezer until you want more cookies. 
  • Store baked and cooled cookies in an airtight container.
  • Heat cooled cookies in the microwave on high for 10 seconds if you want to melt the chocolate.


Butter & browned butter are mixed a bit, but not creamed.

Add sugars to the butters & mix until...

Butter & sugar mostly mixed until it's an almost uniform chunkiness
with some chunks of butter remaining.

Add the chocolate chunks and walnuts. Yes. Different.

Then mix in the dry ingredients until it looks like what you see below.


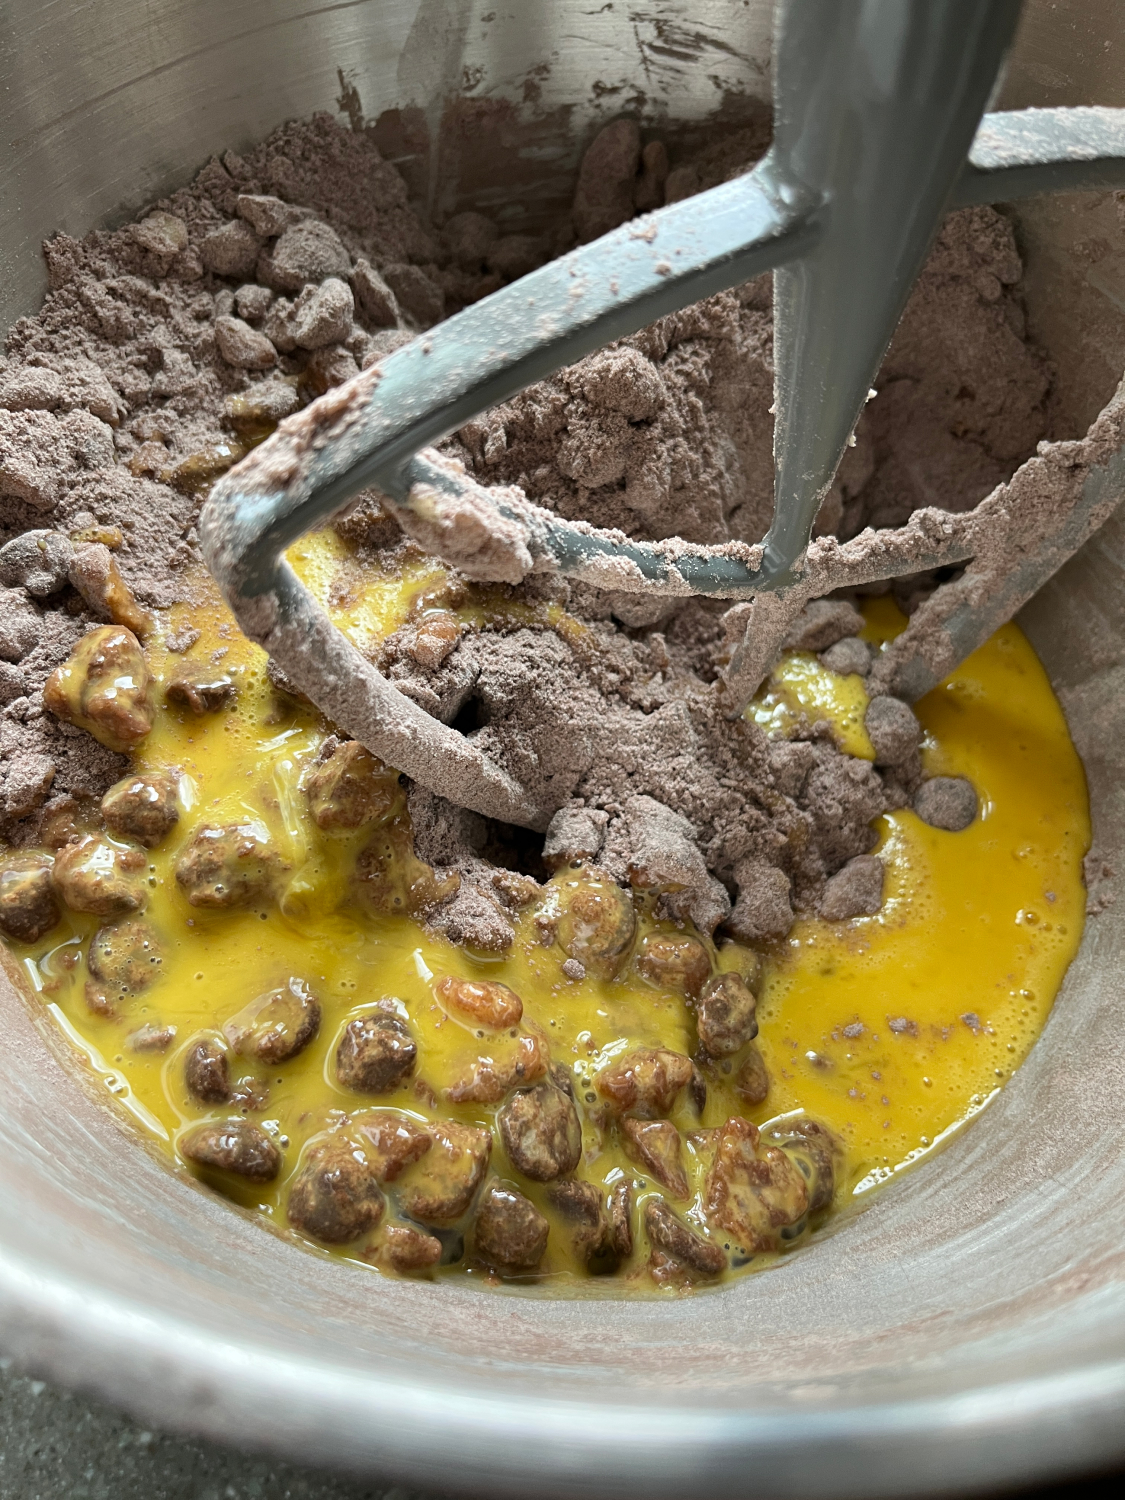
Lastly, add the eggs and vanilla.

Mix until you have something that looks like this.

Weigh out 60 g portions.

Form into a thick disk, making sure to not make it too tight.

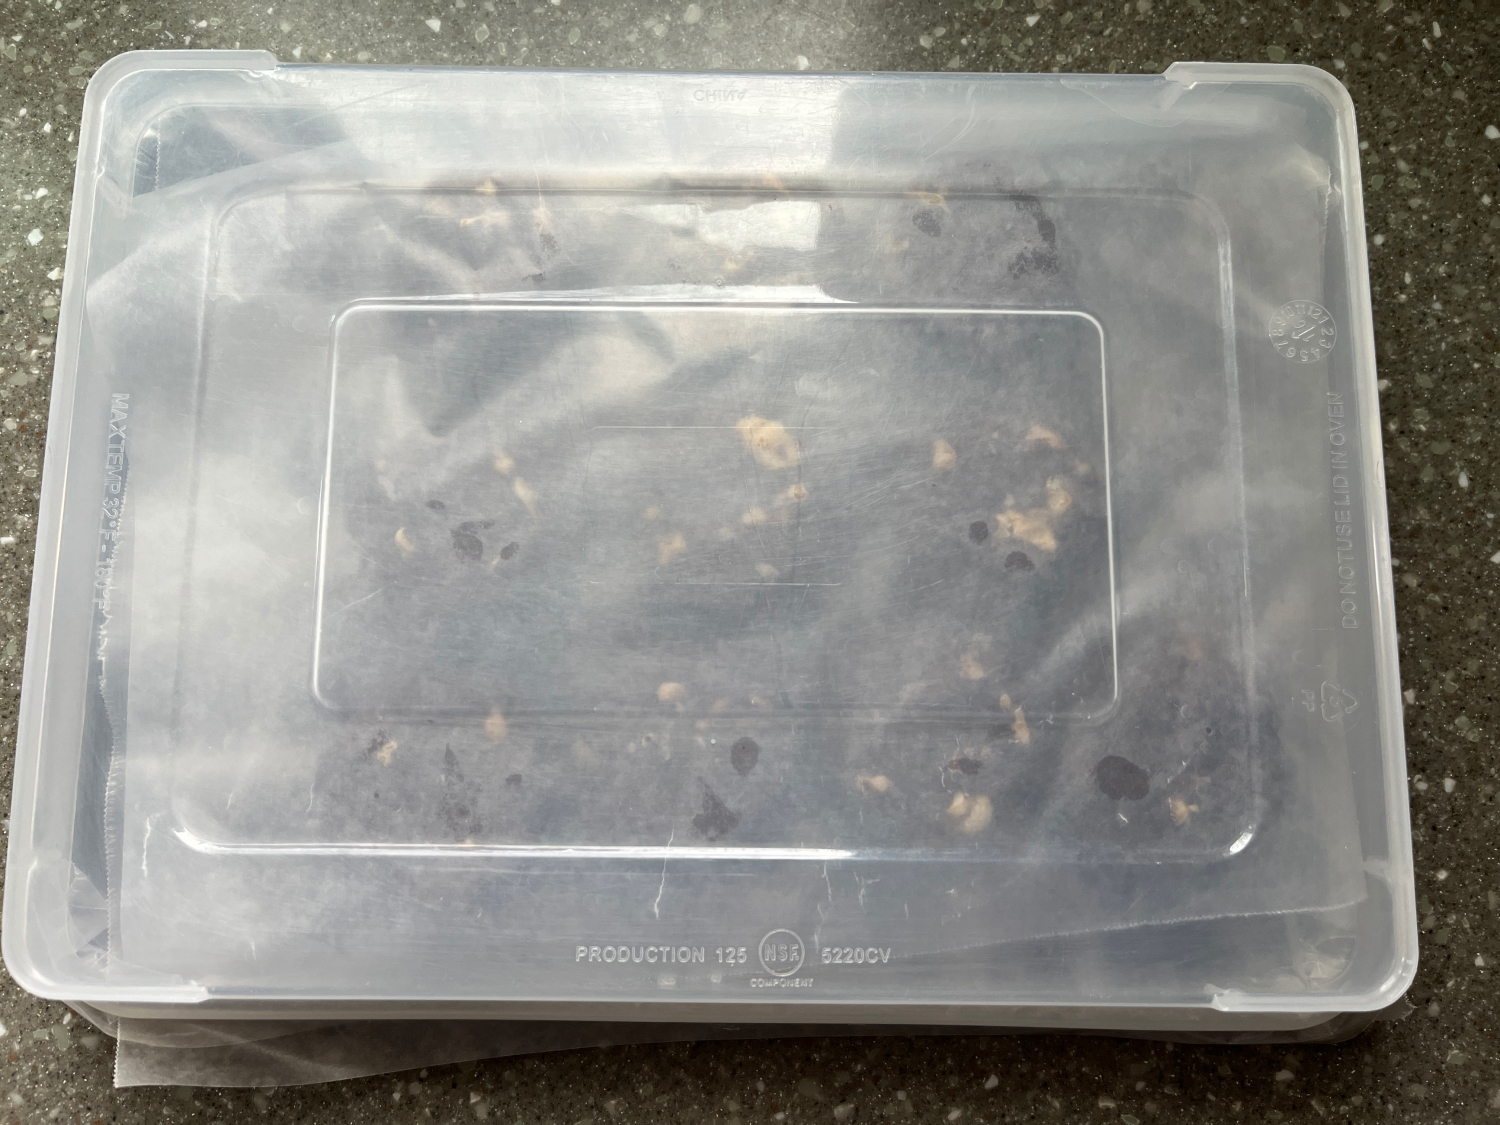
Place on a wax-paper lined pan, cover and freeze until solid.

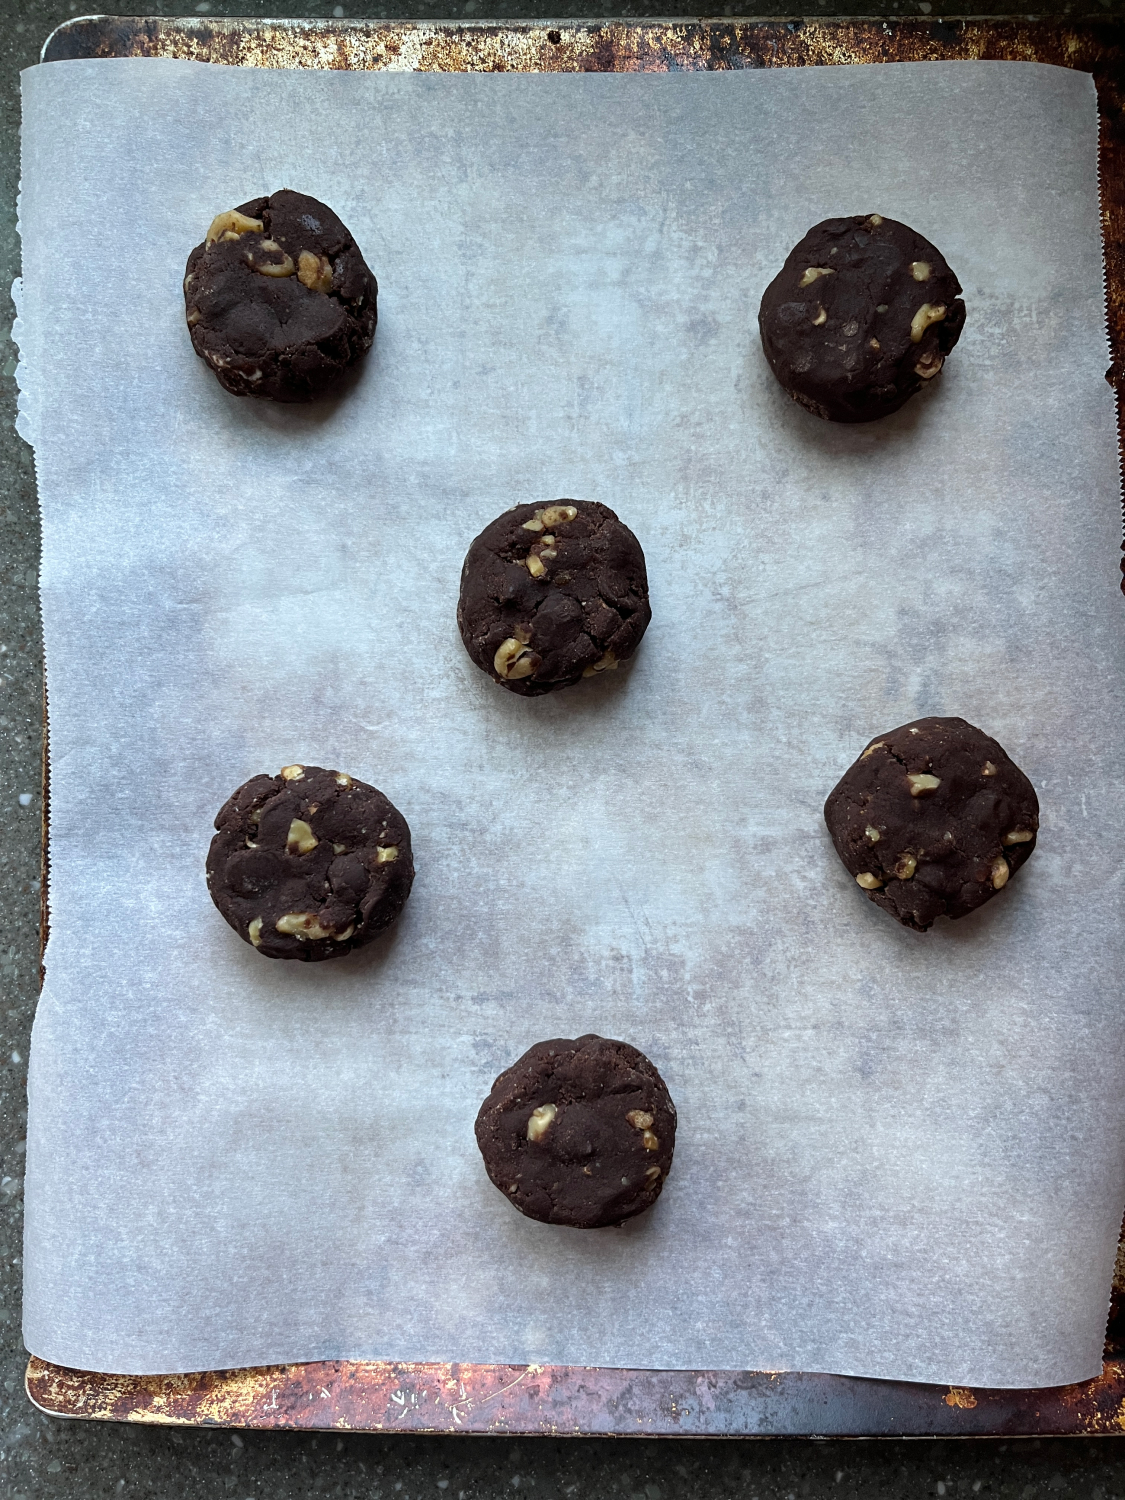
Before baking.

After baking.

I actually baked these like a minute too long. Still good though.

Sunday, December 17, 2023

English Toffee Chunks

English Toffee Chunks


There already exists on this site a fine recipe for English toffee. Lately, though, I've had this itch to make a more bite-sized (maybe two-bite sized) version of this holiday favorite. I wanted to make a more manageable size, and I also wanted to use a method of coating the pieces in chocolate that was not as labor-intensive as my usual.

I actually figure out a better way to coat larger pieces, but smaller pieces are cuter and easier to eat. So I cut this batch up into various small sizes, and the results are what you see here: delicious, buttery sweet, crunchy, nutty, flavorful deliciousness. I have to say, I'm pretty proud of myself. 😁

Who knows what this year will bring, but I do plan to make these again for next Christmas, and maybe then I will remember to document the process to update this post. Until then, email me with questions if you have any.

Enjoy!


English Toffee Chunks

Ingredients
  • 1 cup coarsely chopped roasted almonds 
  • 1 1/2 cups finely chopped roasted almonds
  • 3/4 cup packed C & H Light Brown Sugar 
  • 3/4 cups  C & H white sugar
  • 1 cup butter
  • 9 to 12 ounces chocolate*, melted and tempered (I like to use Dove Milk Chocolate)
Instructions
1. Line a rectangular Pyrex/glass pan (9x13) with parchment paper (Do not use a metal pan for this). Spread coarse nuts in bottom of pan. Set aside.
2. In a heavy saucepan heat butter and sugar to boiling over medium heat, stirring constantly. Boil over medium heat until it reaches 300° on a candy thermometer. At that point immediately pour and spread over the nuts. Allow to cool 5-6 minutes.
3. While the toffee is still relatively soft, but not liquid, lift the toffee out of the pan using the parchment paper and place on a cutting surface. (For me, my warm glass top stove worked well because it kept the toffee a little warm, preventing it from solidifying before I'd cut it up.)
4. Using a sharp knife or a pizza cutter, cut the toffee into small pieces, like 1 cm x 2 cm. Toffee may not completely separate, but that's okay; you can break it apart later. When toffee is cool and firm, gently break the pieces apart and move to a pan lined with paper towels to absorb any excess butter.
5. Set aside 1 to 2 ounces of the chocolate, and then over a double boiler set on medium heat (don't boil the water), melt chocolate until it is 2/3 melted. Remove from heat and stir until completely melted. Add a little of the reserved chocolate and stir until melted. Repeat until all chocolate is gone or the additional chocolate does not melt within about 3-4 minutes of stirring. 
6. 
Place finely chopped nuts in a dish or pan that has some depth and will allow you to toss the toffee nuggets easily.  (I used a deeper Pyrex pan that I think is 7" x 11".) Line a half-sheet pan with parchment and set aside.
7. (This is where it could get tricky.) Place 3/4 of the  the toffee chunks into the chocolate and stir to coat. Then using a fork, or small tongs, move 7 - 8 pieces of the coated toffee into the almond pan. Shake to start coating and then toss the toffee with your hands to finish coating completely with the chopped nuts. Remove coated pieces to the prepared parchment-lined pan to cool and firm up. Repeat with remaining toffee chunks. If the chocolate starts to get too firm (and it will), place bowl over the double boiler again and stir to loosen up the chocolate--usually only 30-60 seconds. Then continue with the coating process. 
8. If you have extra chocolate in the bowl, add any other naked toffee that remains, and follow the coating instructions in step 7. 
9. Allow all pieces to cool and firm up, then place in an airtight container. Divide up into smaller airtight containers and share with family and friends, if desired.

Makes a little over 2 pounds of toffee chunks

*I think 9 ounces will suffice, but to tell the truth, I didn't measure when I did this, and I probably won't make these again until next year. You may end up with some uncoated pieces of toffee. There are worse things to end up with, though, right?


Dove Chocolate unwrapped and ready to be melted and tempered.


Sunday, September 10, 2023

Levain Inspired Chocolate Chip Cookies

Levain Inspired Chocolate Chip Cookies

Being a big fan of cooking shows and YouTube in general, I'd seen the Levain cookies reviewed several times, and everyone seemed to conclude that they are the BEST chocolate chip cookie of New York, if not the world. 

Since I had no immediate plans to visit NY, I never really thought I'd get a chance to try the actual cookie. We did take a trip to Washington DC this past summer, though, and Georgetown had a Levain bakery. I told my husband that Levain was my number 2 tourist priority after the obvious touring of most of the Smithsonian and the National Mall.

I'll cut to the chase: the Levain Cookie, although large, gooey, and beautifully colored, didn't live up to my expectations. I mean, how could it? I probably broke into it too soon because it was fresh out of the oven (I had to wait a bit for my order to bake), but still, the one thing I noticed was a lack of flavor. Yeah. Flavor. My husband surreptitiously took a video of my comments, and I declared after tasting, "It needs salt." Actually I thought it needed vanilla too. I brought some cookies home for my foodie son to try, and his first comment upon tasting the chocolate chip walnut cookie was, "Needs salt." Maybe we just like salt around here.

This recipe here is adapted from Cupcake Jemma's version. I've added vanilla to the recipe and increased the salt and baking soda. I cut the size of the cookie in half because 1. I don't like uncooked dough in the center and 2. I'm not selling these at a bakery. As it is, the 60 gram cookie is like eating 2 normal sized chocolate chip cookies. 

I cut back the size even further in later iterations because I wanted to try it and because I'm taking them to an event.

So why do I like THESE cookies enough to keep making them and commit them to this blog? First of all, they taste great. Maybe not my favorite CCC recipe, but very tasty. They're soft, thick, and baked all the way through. They kind of crumble a little like an American buttermilk biscuit, so when I eat one I break off a bite at a time, and I usually heat it up in the microwave for about 11 seconds too. Second of all, unlike lots of other CCC recipes, these still taste great even 2-3 days after baking. I usually won't eat a CCC after day 2, but these are the exception. Overall, a crowd-pleasing cookie.

I've written much more than I intended here, so without further ado, here's the recipe:


Levain Inspired Chocolate Chip Cookies (NOT a copycat recipe)

Adapted from Cupcake Jemma's Recipe on Youtube

Ingredients:
  • 230 g unsalted butter, cold, cut into tablespoon size chunks
  • 160 g granulated sugar
  • 160 g brown sugar
  • 450 g chocolate chips (I used Nestle semi-sweet morsels)
  • 200 g walnut pieces (optional)
  • 230 g self-rising flour*
  • 200 g all purpose flour
  • 2 teaspoons baking powder
  • 1 teaspoon salt
  • 1 teaspoon baking soda
  • 2 large eggs, beaten
  • 2 teaspoons vanilla extract
Instructions:
  • (Scroll to the photos at the end to see what this unconventional process looks like.)
  • In the bowl of a stand mixer, place the cold butter and mix on low for about a minute, just to break up the butter--do not cream the butter.
  • Add the granulated and brown sugar to the butter and mix again on low/medium low until little nuggets of butter & sugar form--again, do not cream this mixture.
  • Add the chocolate chips and walnuts (if desired), and mix again just to incorporate the chocolate chips and nuts.
  • In a separate bowl, combine the flours, baking soda, baking powder, and salt. Stir with a whisk until completely mixed. 
  • Add the dry ingredients to the butter/sugar/chocolate/nuts mixture in the mixing bowl and mix on low until combined, about 30-45 seconds. It will still be dry and sandy looking.
  • Add the vanilla to the egg mixture and then add that to the mixture. Mix on low/medium low until dough starts to come together, but do not mix long enough to create a completely cohesive dough.
  • Using a large cookie scoop or a large spoon, make 60 gram gently formed balls of dough -- it's best if you don't pack the dough into a tight ball. Then flatten each ball into a disk that's about an inch thick.
  • Cover and freeze dough disks at least 90 minutes before baking.Preheat oven to 360 degrees Fahrenheit. Line a baking sheet with parchment paper and place in the oven to get hot while the oven preheats.
  • When pan and oven are heated, remove the pan from the oven, place frozen dough disks on pan allowing a couple of inches between them.
  • Bake at 360 degrees for about 14-15 minutes, until puffed and starting to crack. Take care to not over-bake. Underbaked is better than over-baked.
  • Remove from oven and allow to cool on cookie sheet at least five minutes before moving to a wire rack to cool completely. Alternately, if you have a rimless baking sheet, you can slide the parchment with the baked cookie sheets onto a cooling rack to cool until ready to eat, about 5-10 minutes. This is what I try to do so the cookies will not continue to bake on the hot baking sheet.
  • Place unbaked dough disks in a zip top freezer bag and store in the freezer until you want more cookies. 
  • Store baked and cooled cookies in an airtight container.
  • Heat cooled cookies in the microwave on high for 10 seconds if you want to melt the chocolate and make the insides gooey again.
Makes about 30 cookies

*You can mix your own self-rising flour by combining 2 cups all purpose flour with 3 teaspoons baking powder and 1/2 teaspoon salt. Then use just 230 grams of that for this recipe. Save or toss what's leftover...OR use the following measurements if you don't want to bother with mixing the self-rising flour:
  • 230 g unsalted butter, cold, cut into tablespoon size chunks
  • 160 g granulated sugar
  • 160 g brown sugar
  • 450 g chocolate chips 
  • 200 g walnut pieces (optional)
  • 430 g all purpose flour
  • 1 teaspoon baking soda
  • 4 teaspoons baking powder
  • 1 1/2 teaspoons salt
  • 2 large eggs, beaten
  • 2 teaspoons vanilla extract

Make sure the butter is COLD.

Just break up the butter -- don't cream it.


You'll still have chunks of butter after mixing in the sugars.

Yeah, the chips go in before the flour, and the egg goes in at the end.


Everything but the egg and vanilla here.


The dough is never a cohesive mass.

I actually do use a kitchen scale for this.


Frozen dough balls going into the oven now.

Baked.

These ones have nuts. The dough mixed above didn't have them.

Saturday, March 4, 2023

Ooey Gooey Chocolate Chocolate Chip Cookies


Gooey Chocolate Chocolate Chip Cookies


Lately I've gotten into this habit of watching mostly cooking Youtube videos in the morning before and after my morning spinning bike workout. I'll start a video while I do my arm/shoulder physical therapy exercises, and then I'll turn on my spinning workout video. My treat for my post-workout cooldown is finishing the video. 

This past week I tumbled down a New York City chocolate chip cookie Youtube rabbit hole, and discovered Cupcake Jemma, a delightful baker based in the UK. (Check out the Crumbs & Doilies Bakery website here.) There were two things about the two Cupcake Jemma videos I watched that struck me. The first is this recipe that I've tweaked a bit here by adding vanilla and decreasing the size of each cookie by half (I mean, I'm not a baker selling these things--just an average home baker who actually eats and shares them.) 

The second thing that struck me is the mixing method they used for these cookies and in their rendition of Levain's famous NYC Chocolate Chip Cookie. Rather than creaming the butter and sugars, adding eggs & vanilla,  adding all the dry ingredients, and then adding the chocolate chips as most cookie recipes call for, Cupcake Jemma barely mixes the butter and sugars, adds the chocolate chips, then the dry ingredients and lastly the eggs. What the...? 

Sounded so crazy to me, but the results don't lie. These chocolate cookies are gooey, tender, flavorful, and just perfectly satisfying. I may be obsessed.

The first batch I made were just half-sized versions of Cupcake Jemma's, but they failed to spread at all and remained kind of ball-shaped, which wasn't very attractive (see pic below). So I did what any other obsessed person would do and I almost immediately made another batch. This time I flattened each ball just a bit, and decreased my baking time a bit. The cookies came out attractive AND delicious. Perfect. 

Now here's the recipe for you to go and try yourself. 

You're welcome.

Gooey Chocolate Chocolate Chip Cookies
     --Adapted from Cupcake Jemma's Recipe

Ingredients: 
  • 230 g unsalted butter, cold, cut into tablespoon size chunks
  • 160 g granulated sugar
  • 160 g brown sugar
  • 450 g dark chocolate chips (I love Nestle's Dark Chocolate Morsels)
  • 200 g walnut pieces (optional)
  • 430 g all purpose flour
  • 70 g cocoa powder (preferably Dutch process)
  • 1/4 teaspoon baking soda
  • 2 tablespoons baking powder
  • 1 1/2 teaspoon salt
  • 2 large eggs plus 1 yolk, beaten
  • 1 1/2 teaspoons vanilla extract
Instructions:
  • NOTE: See images below instructions for visuals of the various stages of this dough mixing process.
  • In the bowl of a standing mixer, place the cold butter and mix on low for about a minute, just to break up the butter--do not cream the butter.
  • Add the granulated and brown sugar to the butter and mix again on low/medium low until little nuggets of butter & sugar form--again, do not cream this mixture.
  • Add the chocolate chips and walnuts (if desired), and mix again just to incorporate the chocolate chips and nuts.
  • In a separate bowl, combine the flours, cocoa powder, baking soda, baking powder, and salt. Stir with a whisk until completely mixed. 
  • Add the dry ingredients to the butter/sugar/chocolate/nuts mixture in the mixing bowl and mix on low until combined, about 30-45 seconds. It will still be dry and sandy looking.
  • Add the vanilla to the egg mixture and then add that to the mixture. Mix on low/medium low until dough starts to come together, but do not mix long enough to create a completely cohesive dough.
  • Using a large cookie scoop or a large spoon, make 60 gram balls of dough. Then flatten each ball into a disk that's about an inch thick.
  • Cover and freeze dough disks at least 90 minutes before baking.
  • Preheat oven to 360 degrees Fahrenheit. Line a baking sheet with parchment paper and place in the oven to get hot while the oven preheats.
  • When pan and oven are heated, remove the pan from the oven, place frozen dough disks on pan allowing a couple of inches between them.
  • Bake at 360 degrees for about 14-15 minutes, until puffed and starting to crack. Take care to not over-bake. Underbaked is better than over-baked.
  • Remove from oven and allow to cool on cookie sheet at least five minutes before moving to a wire rack to cool completely. Alternately, if you have a rimless baking sheet, you can slide the parchment with the baked cookie sheets onto a cooling rack to cool until ready to eat, about 5-10 minutes. This is what I try to do so the cookies will not continue to bake on the hot baking sheet.
  • Place unbaked dough disks in a zip top freezer bag and store in the freezer until you want more cookies. 
  • Store baked and cooled cookies in an airtight container.
  • Heat cooled cookies in the microwave on high for 10 seconds if you want to melt the chocolate and make the insides gooey again.
Makes about 30 cookies


Dough disks ready for the freezer.


See the difference between the flattened version and the ball?


01 09