Pages

Tuesday, March 21, 2023

Oatmeal Cream Pies -- Vegan & Gluten-Free

Oatmeal Cream Pies

I am a little bit obsessed with Thistle's Summit Bakery's oatmeal pies. I can get them at my favorite coffee shop, The Slow Down Coffee Company here in Des Moines, but what I really want to do is crack the recipe so I can make them on my own. 

The oatmeal cookie has this certain flavor that I can't quite put my finger on. I can't tell if it's just slightly saltier than your average oatmeal cookie, or if there's a molasses flavor--or it's probably just a perfect balance of all the flavors. The texture is perfect too, though--not too soft and squishy, and not too crisp. Just nice and chewy. The oatmeal pie filling is so nice too. It feels cool on my tongue, and not overly sweet. It's all really cookie perfection, which is surprising coming from me because I'm both a huge chocolate fan AND a cookie snob.

At any rate, I've been taking some of my "failed" attempts to work, and people seem to love them. I suspect when you place a creamy sugary filling between any two cookies, you're likely to get positive reviews. Just a hypothesis that I'll probably continue to test in the coming months as I pursue perfection of this recipe.


Oatmeal Cream Pies

Cookie Ingredients:
  • 1 1/2 cups gluten-free all-purpose flour (I use Better Batter Original Blend)
  • 3 cups uncooked rolled oats
  • 1 1/2 teaspoons kosher salt (I use Morton's)
  • 1 teaspoon baking soda
  • 1 scant teaspoon ground cinnamon
  • 2 sticks vegan butter (I used Earth Balance Vegan Buttery Sticks)
  • 1 1/2 cups white sugar
  • 1/3 cup molasses
  • 1 teaspoon vanilla extract
  • 1/2 cup mashed unripe banana (Use ripe bananas for more banana flavor.)
Filling Ingredients:
  • 1/2 cup vegetable shortening (like Crisco)
  • 2 1/2 cups (about 10 oz.) powdered sugar
  • 1 1/2 teaspoons vanilla extract
  • pinch of salt
  • 2-3 tablespoons oat milk
Instructions:
  • In a medium bowl, combine flour, oats, salt, baking soda, and cinnamon. Stir to combine and set aside.
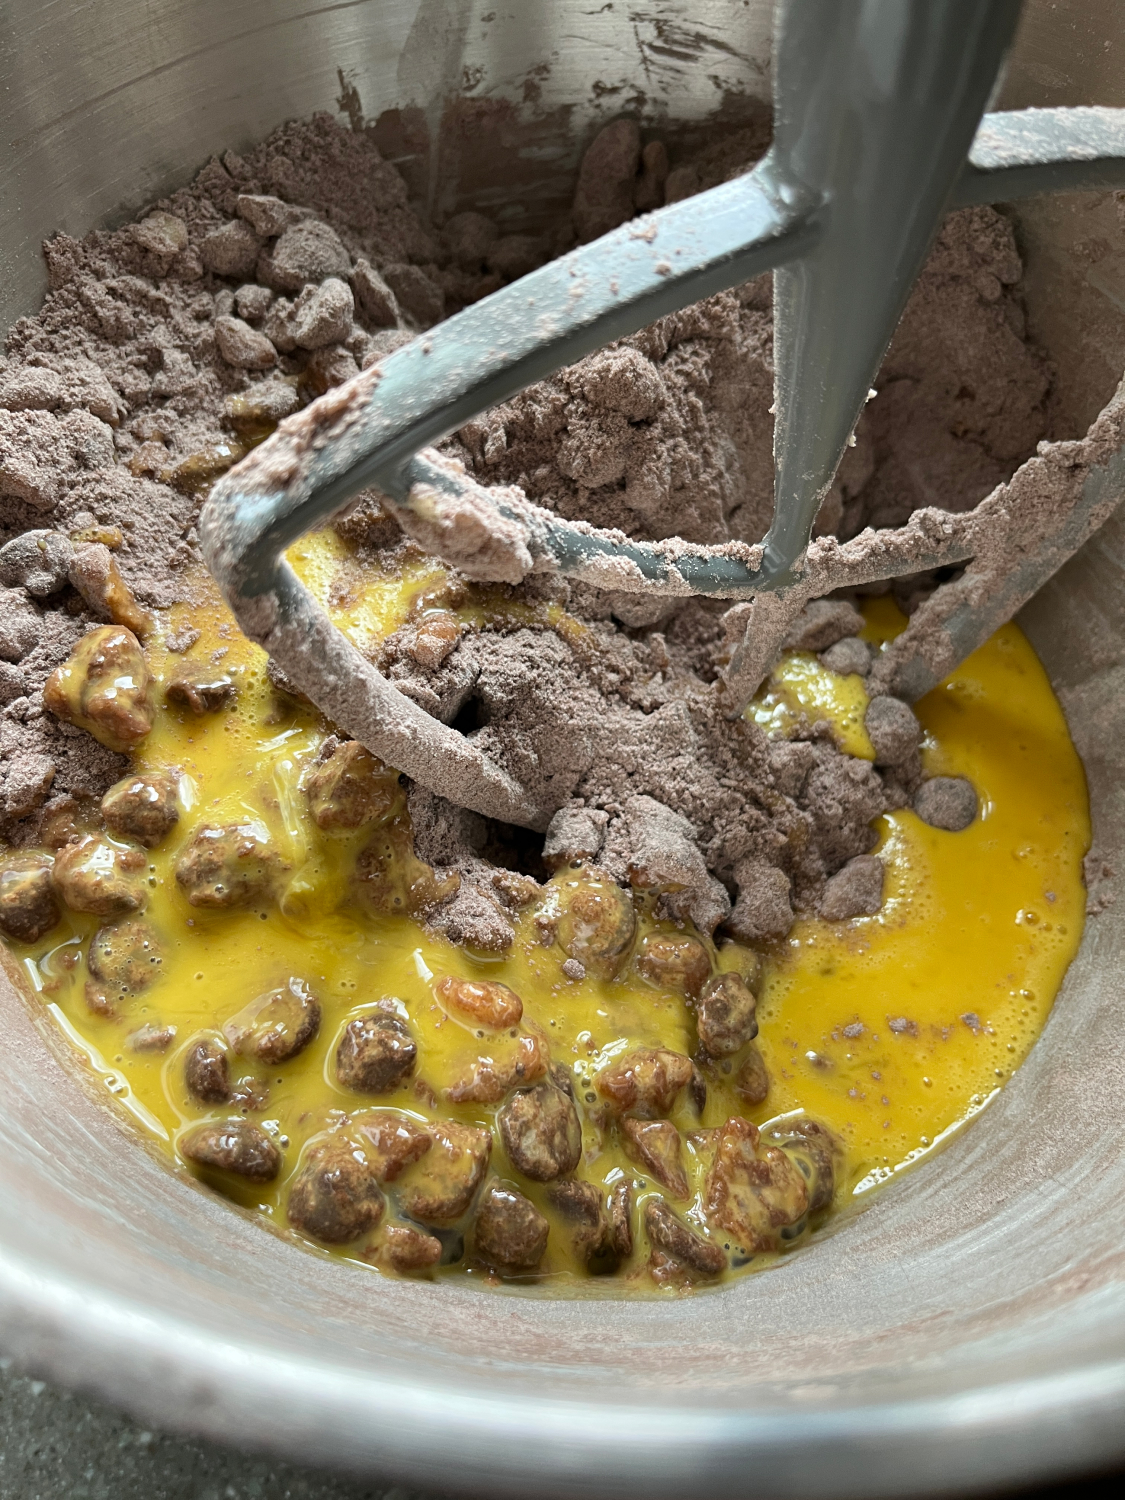
  • In a mixing bowl, cream the vegan butter, sugar and molasses. Add the vanilla and mashed bananas.
  • Stir in the dry ingredients to incorporate. 
  • Cover and refrigerate for a couple of hours.
  • Scoop about 2 tablespoons (I used a cookie scoop) and flatten slightly so you end up with a disk that's about 1 1/2 inches in diameter and about a half inch thick.
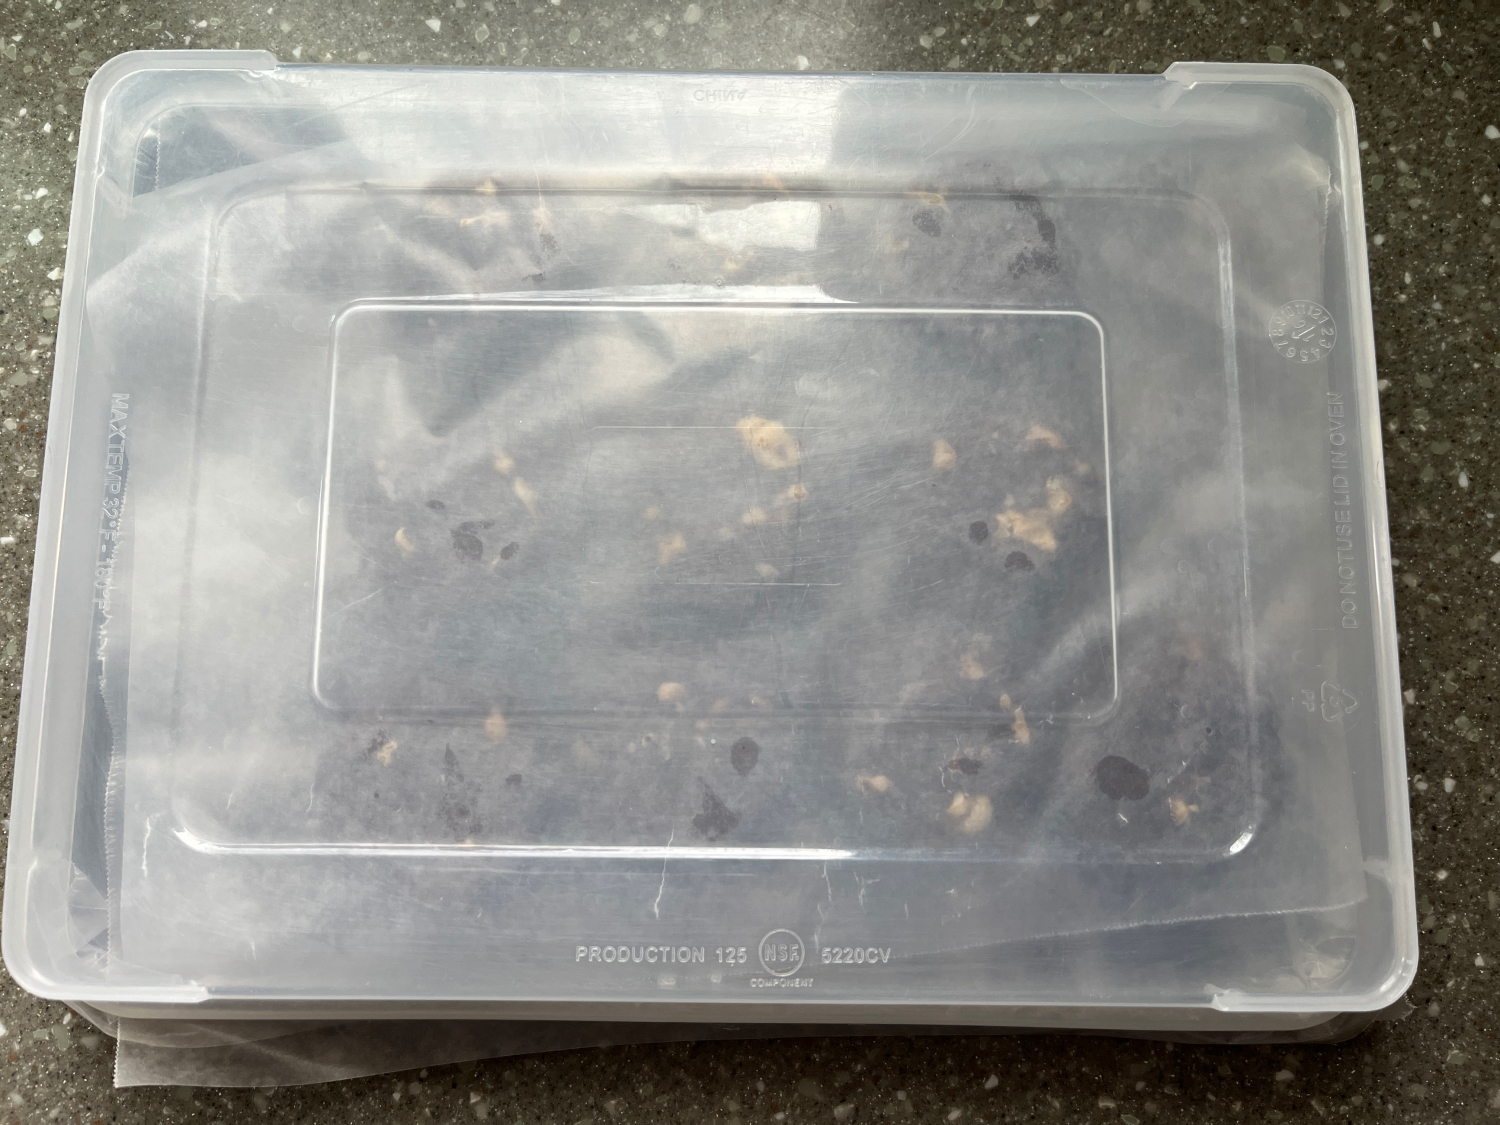
  • Place prepared dough disks onto a wax paper or parchment lined pan/container that you can refrigerate or freeze.
  • When all dough has been scooped, you can refrigerate for a few days or freeze.

  • When ready to bake, preheat oven to 350 degrees Fahrenheit and line a baking sheet with parchment paper.
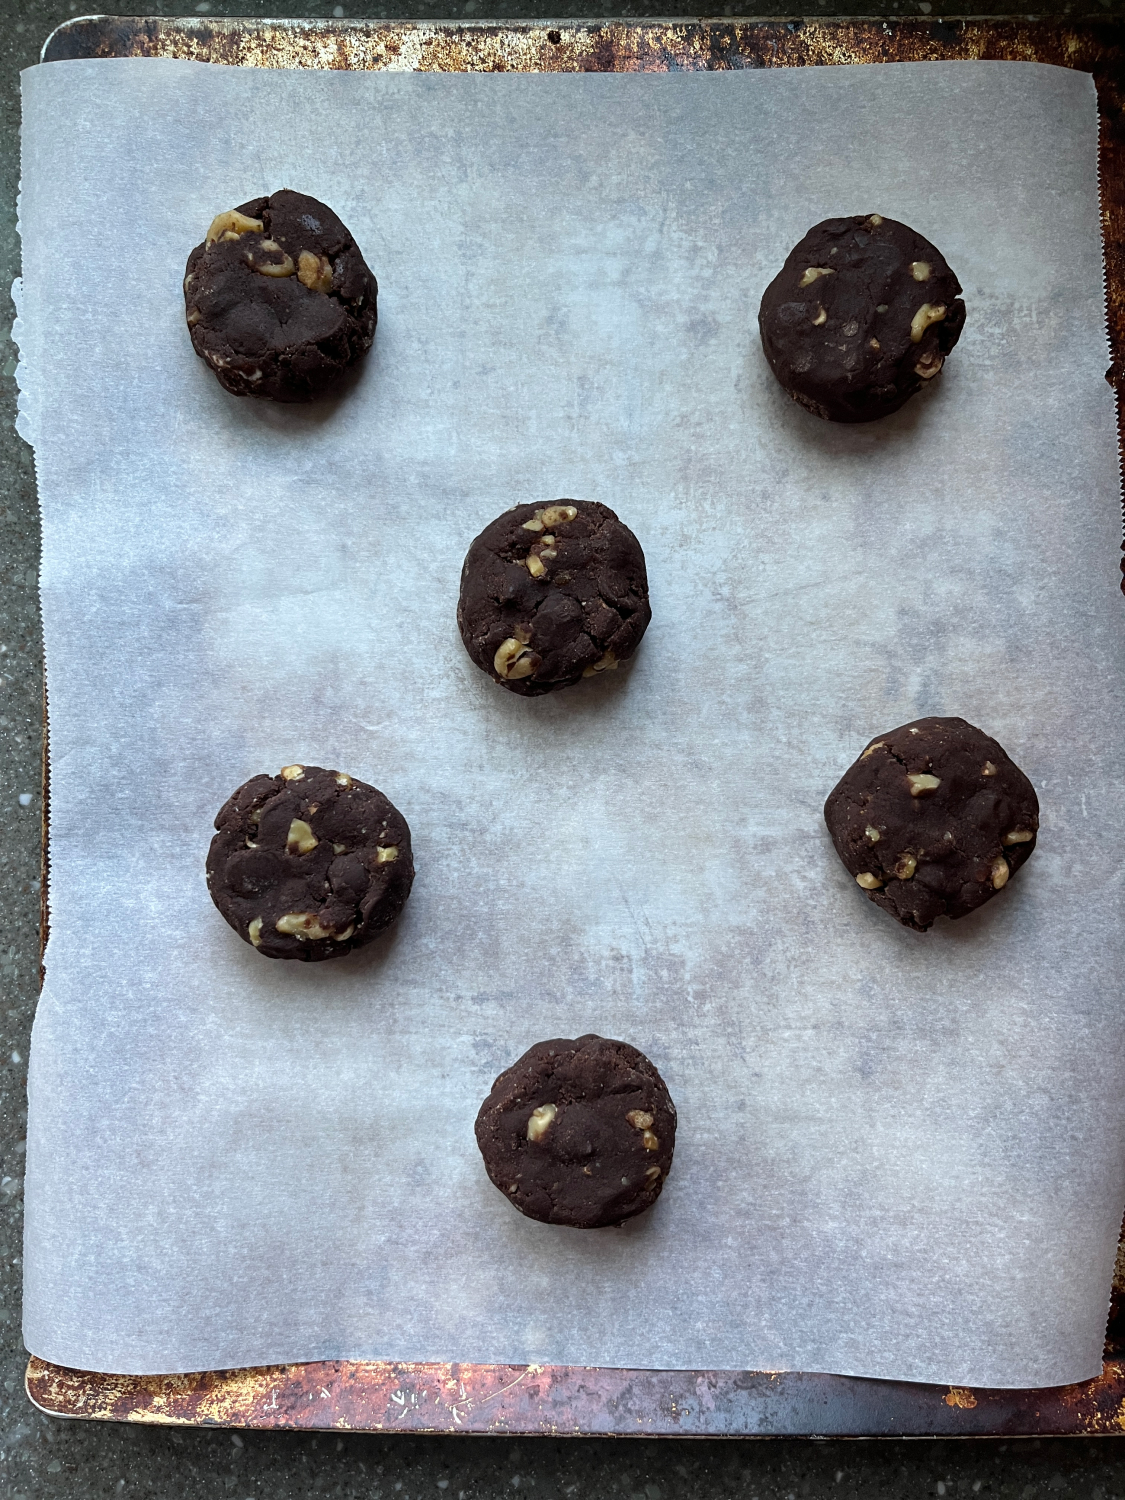
  • Place cookie dough onto prepared baking sheet, allowing about 1 1/2 to 2 inches between dough disks.
  • Bake at 350 degrees for about 13-15 minutes, depending on how soft you like your cookies. 
  • Remove from oven and allow to cool about 5 minutes before removing to a wire rack to cool completely.
  • When cookies are cool, prepare filling by creaming together the vegetable shortening, powdered sugar, vanilla extract, salt, and 2 tablespoons oat milk. If the filling seems too stiff, add a little more oat milk, taking care not to overdo it. Continue to mix until very smooth and creamy.

  • Build cookie sandwiches by scooping about 1 tablespoon of filling onto the bottom of one cookie and then top with another. Squish together carefully until filling is almost to the edge.
  • Store oatmeal pies in an airtight container.

Makes about 20-22 cookie sandwiches


Saturday, March 4, 2023

Ooey Gooey Chocolate Chocolate Chip Cookies


Gooey Chocolate Chocolate Chip Cookies


Lately I've gotten into this habit of watching mostly cooking Youtube videos in the morning before and after my morning spinning bike workout. I'll start a video while I do my arm/shoulder physical therapy exercises, and then I'll turn on my spinning workout video. My treat for my post-workout cooldown is finishing the video. 

This past week I tumbled down a New York City chocolate chip cookie Youtube rabbit hole, and discovered Cupcake Jemma, a delightful baker based in the UK. (Check out the Crumbs & Doilies Bakery website here.) There were two things about the two Cupcake Jemma videos I watched that struck me. The first is this recipe that I've tweaked a bit here by adding vanilla and decreasing the size of each cookie by half (I mean, I'm not a baker selling these things--just an average home baker who actually eats and shares them.) 

The second thing that struck me is the mixing method they used for these cookies and in their rendition of Levain's famous NYC Chocolate Chip Cookie. Rather than creaming the butter and sugars, adding eggs & vanilla,  adding all the dry ingredients, and then adding the chocolate chips as most cookie recipes call for, Cupcake Jemma barely mixes the butter and sugars, adds the chocolate chips, then the dry ingredients and lastly the eggs. What the...? 

Sounded so crazy to me, but the results don't lie. These chocolate cookies are gooey, tender, flavorful, and just perfectly satisfying. I may be obsessed.

The first batch I made were just half-sized versions of Cupcake Jemma's, but they failed to spread at all and remained kind of ball-shaped, which wasn't very attractive (see pic below). So I did what any other obsessed person would do and I almost immediately made another batch. This time I flattened each ball just a bit, and decreased my baking time a bit. The cookies came out attractive AND delicious. Perfect. 

Now here's the recipe for you to go and try yourself. 

You're welcome.

Gooey Chocolate Chocolate Chip Cookies
     --Adapted from Cupcake Jemma's Recipe

Ingredients: 
  • 230 g unsalted butter, cold, cut into tablespoon size chunks
  • 160 g granulated sugar
  • 160 g brown sugar
  • 450 g dark chocolate chips (I love Nestle's Dark Chocolate Morsels)
  • 200 g walnut pieces (optional)
  • 230 g self-rising flour*
  • 200 g all purpose flour
  • 70 g cocoa powder (preferably Dutch process)
  • 1/4 teaspoon baking soda
  • 1 tablespoon baking powder
  • 1 teaspoon salt
  • 2 large eggs plus 1 yolk, beaten
  • 1 1/2 teaspoons vanilla extract
Instructions:
  • NOTE: See images below instructions for visuals of the various stages of this dough mixing process.
  • In the bowl of a standing mixer, place the cold butter and mix on low for about a minute, just to break up the butter--do not cream the butter.
  • Add the granulated and brown sugar to the butter and mix again on low/medium low until little nuggets of butter & sugar form--again, do not cream this mixture.
  • Add the chocolate chips and walnuts (if desired), and mix again just to incorporate the chocolate chips and nuts.
  • In a separate bowl, combine the flours, cocoa powder, baking soda, baking powder, and salt. Stir with a whisk until completely mixed. 
  • Add the dry ingredients to the butter/sugar/chocolate/nuts mixture in the mixing bowl and mix on low until combined, about 30-45 seconds. It will still be dry and sandy looking.
  • Add the vanilla to the egg mixture and then add that to the mixture. Mix on low/medium low until dough starts to come together, but do not mix long enough to create a completely cohesive dough.
  • Using a large cookie scoop or a large spoon, make 60 gram balls of dough. Then flatten each ball into a disk that's about an inch thick.
  • Cover and freeze dough disks at least 90 minutes before baking.
  • Preheat oven to 360 degrees Fahrenheit. Line a baking sheet with parchment paper and place in the oven to get hot while the oven preheats.
  • When pan and oven are heated, remove the pan from the oven, place frozen dough disks on pan allowing a couple of inches between them.
  • Bake at 360 degrees for about 14-15 minutes, until puffed and starting to crack. Take care to not over-bake. Underbaked is better than over-baked.
  • Remove from oven and allow to cool on cookie sheet at least five minutes before moving to a wire rack to cool completely. Alternately, if you have a rimless baking sheet, you can slide the parchment with the baked cookie sheets onto a cooling rack to cool until ready to eat, about 5-10 minutes. This is what I try to do so the cookies will not continue to bake on the hot baking sheet.
  • Place unbaked dough disks in a zip top freezer bag and store in the freezer until you want more cookies. 
  • Store baked and cooled cookies in an airtight container.
  • Heat cooled cookies in the microwave on high for 10 seconds if you want to melt the chocolate and make the insides gooey again.
Makes about 30 cookies

*You can mix your own self-rising flour by combining 2 cups all purpose flour with 3 teaspoons baking powder and 1/2 teaspoon salt. Then use just 230 grams of that for this recipe. Save or toss what's leftover.


Dough disks ready for the freezer.


See the difference between the flattened version and the ball?


Friday, March 3, 2023

Pizza Sauce -- Quick and Easy

Easy peasy pizza sauce


After years of using mediocre store-bought pizza sauce for my homemade pizza, I finally searched up and found an easy, delicious option for homemade sauce. I kind of like my pizza sauce to be a little thick, so I looked for a recipe that included tomato paste, and found this recipe pretty quickly on JoyFoodSunshine.com. That recipe does not involve fresh garlic or any cooking, but I really wanted an intense garlic element, so I tweaked the recipe a bit.

Depending on how much red pepper flake you put in, you can make this pretty spicy. The half-teaspoon called for in my rendition below gives it just a small kick that I don't think will be too much for sensitive folks, but put in less if that's your preference.

I had the Orlondo's Pizza Spice on hand, and I realize now it's kind of a local thing. So, if you don't have that or anything like it, go to JoyFoodSunshine.com and check out the ingredients they have there for the original recipe of this sauce. I think you could also use "Italian spice" and augment with basil, parsley, and fennel seed, since that's what is listed on Orlondo's bottle (see pic below).

Overall, I consider this pizza sauce a win, and it's now my go-to sauce for homemade pizza night at my house. It's flavorful, just the right viscosity and spice. I keep the leftovers in my fridge and one batch covers about six 12-inch pizzas, which covers 2 different pizza nights at my house.

So, it's a winner in my book. Give it a try.

Pizza Sauce
  -- Adapted from JoyFoodSunshine.com

Ingredients:
  • 2 tablespoons olive oil
  • 2 cloves garlic, minced
  • 2 tablespoons pizza seasoning (I used Orlondo's Pizza Spice)
  • 1 1/2 teaspoons oregano
  • 1/2 teaspoon onion powder
  • 1/2 teaspoon ground black pepper
  • 1/2 teaspoon red pepper flakes
  • 1 can tomato paste (6 oz)
  • 1 can tomato sauce (15 oz)
  • 1 teaspoon garlic salt
  • 1 teaspoon sugar
Instructions:
In a medium saucepan, heat the oil over medium heat. Add the garlic, pizza seasoning, oregano, onion powder, black pepper, and red pepper flakes. Stir and cook for about 30-45 seconds before adding the tomato paste. 
Stir in the tomato paste to incorporate, and then stir in the tomato sauce.
Turn heat to medium low and cook until bubbles start to pop through and sauce is very hot, but not boiling.
You can allow the sauce to sit & cool in the pan while you prep the other ingredients for pizza, or you can transfer it directly to a glass container (like a Mason jar), cover, and refrigerate for up to 2 weeks.

Use as you would any other pizza sauce.

Makes about 2 1/2 cups sauce

Orlondo's Pizza Spice Ingredients:
basil, parsley, fennel seed, Italian spices